ROAD AND STAGE RALLY ROADBOOKS
FIA Legal Roadbooks Direct to PDF


Powered by MapBox and GPS
Matching GPX Tracks with Enhanced Route and Scoring Data
Pro Users Can Upload Custom Navigation Icons and Custom Roadbook Header Images
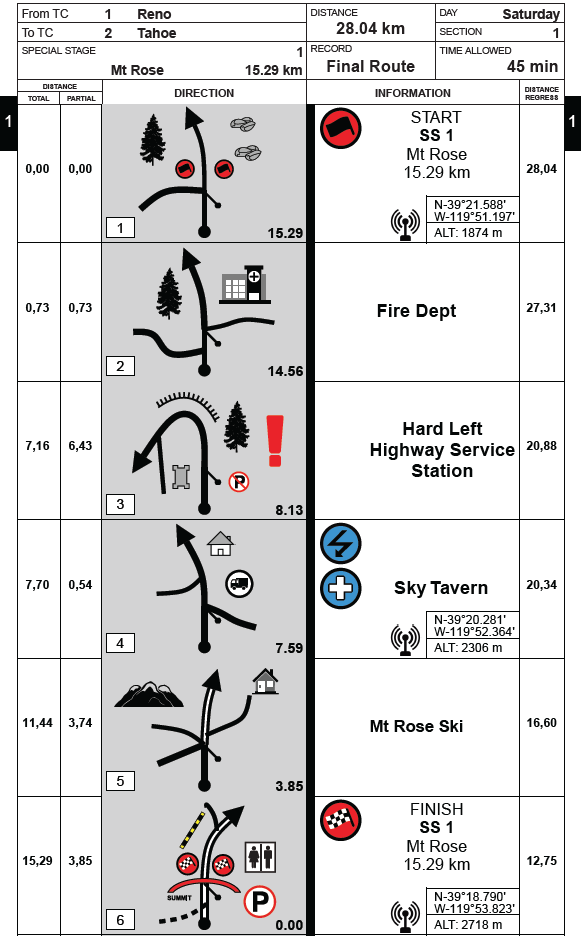
Rally Navigator Export and Print Sample Files
RN2 File – Road Rally Sample Route
GPX and KML File – Road Rally Sample Route
PDF File – Road Rally Roadbook
- A4 – Road Rally Roadbook
- A5 – Road Rally Roadbook
- Letter – Road Rally Roadbook
- Legal – Road Rally Roadbook
Time Speed Distance Worksheet
FIA Stage Rally
Create a Roadbook by Drawing on the Map
Double Click the Map & Create Your First Waypoint
- Enter Route Name, Description, Start and Finish Location in Header
- Click along route on Map to create Track Handles and red track.
- Double Click Track handle again to create all Waypoints along Route to Finish
- Carefully place 1st Track Handle after Waypoint to set direction of path leaving Waypoint, it’s used to automatically draw simple Tulip
Mapbox – Snap to Roads – See the Power of Rally Navigator
-
Snap to Roads. Rally Navigator will
quickly trace roads shown on the Map
- Control + Click Road on Map
-
Snap to Roads with Text Navigation Added
to Each Waypoint
- PC: Control + Alt + Click Road on Map
- Mac: Control + Command + Click Road on Map
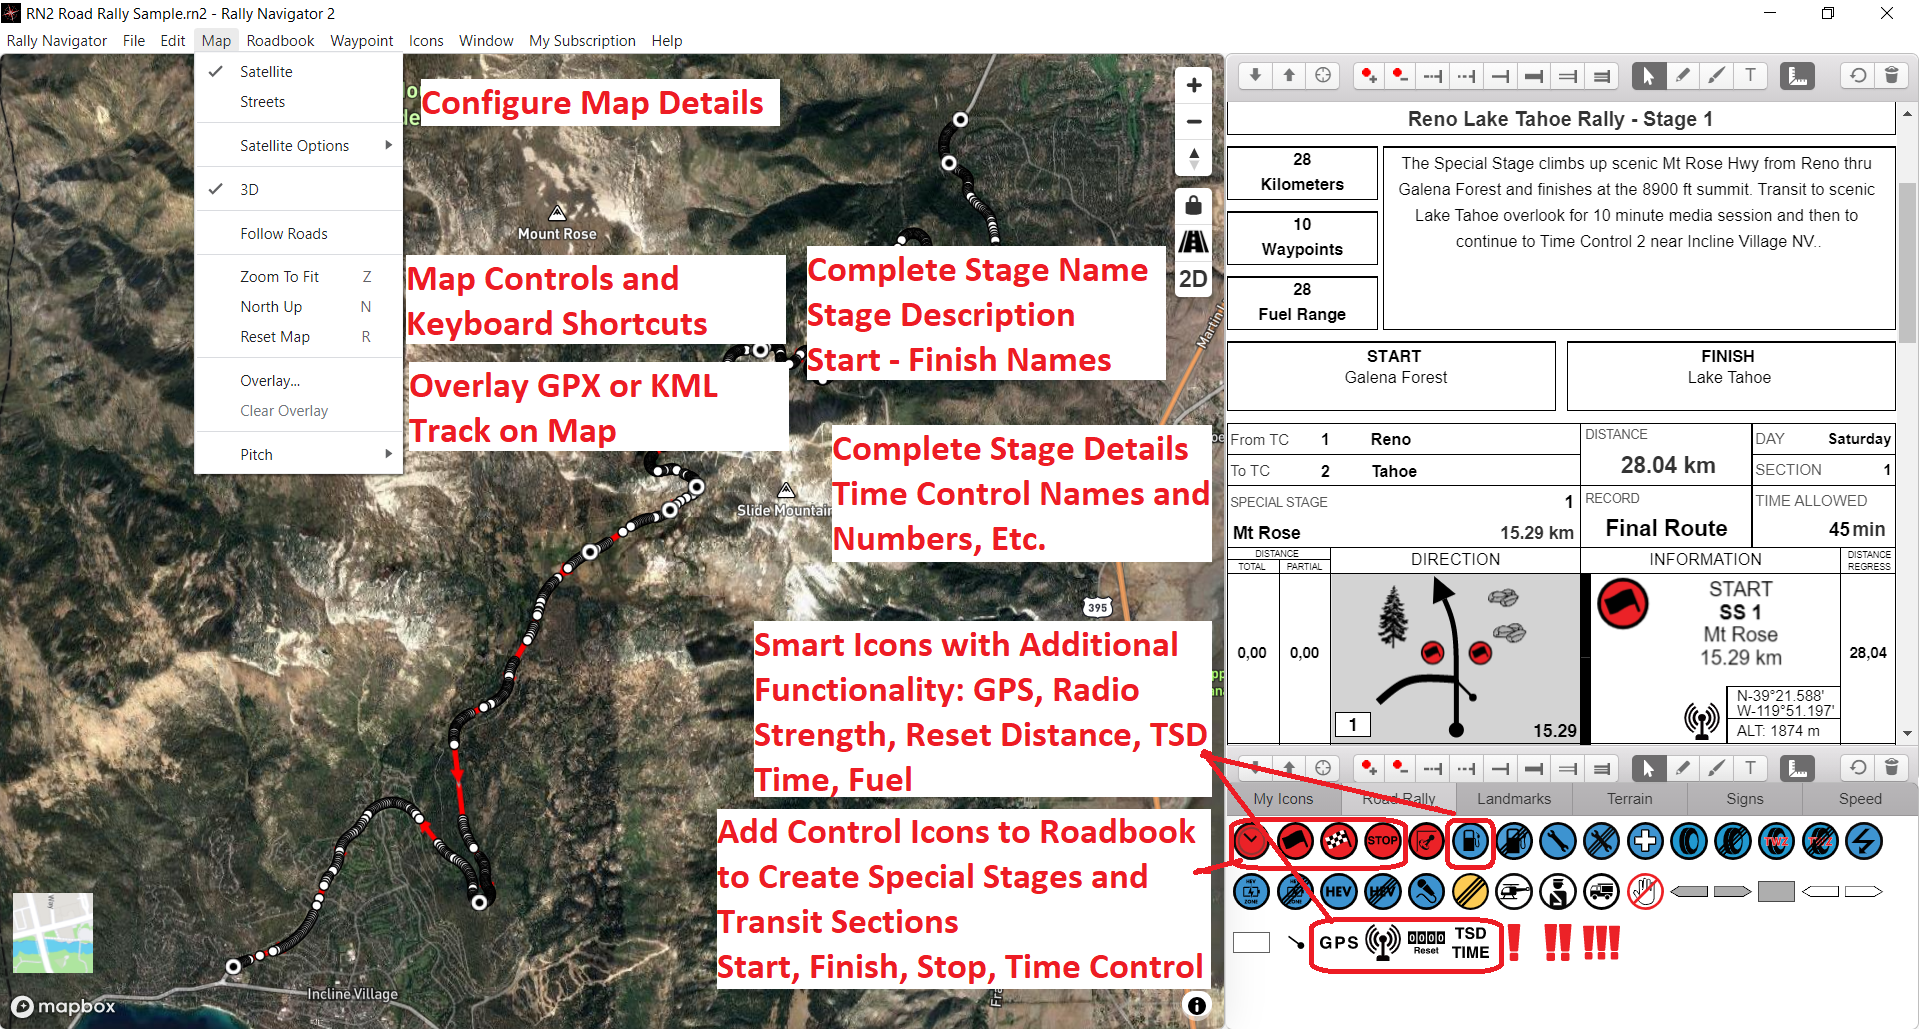
Create a Roadbook from GPX or KML Tracks
GPS Tracks must be GPX Format. Track must be
single continuous path.
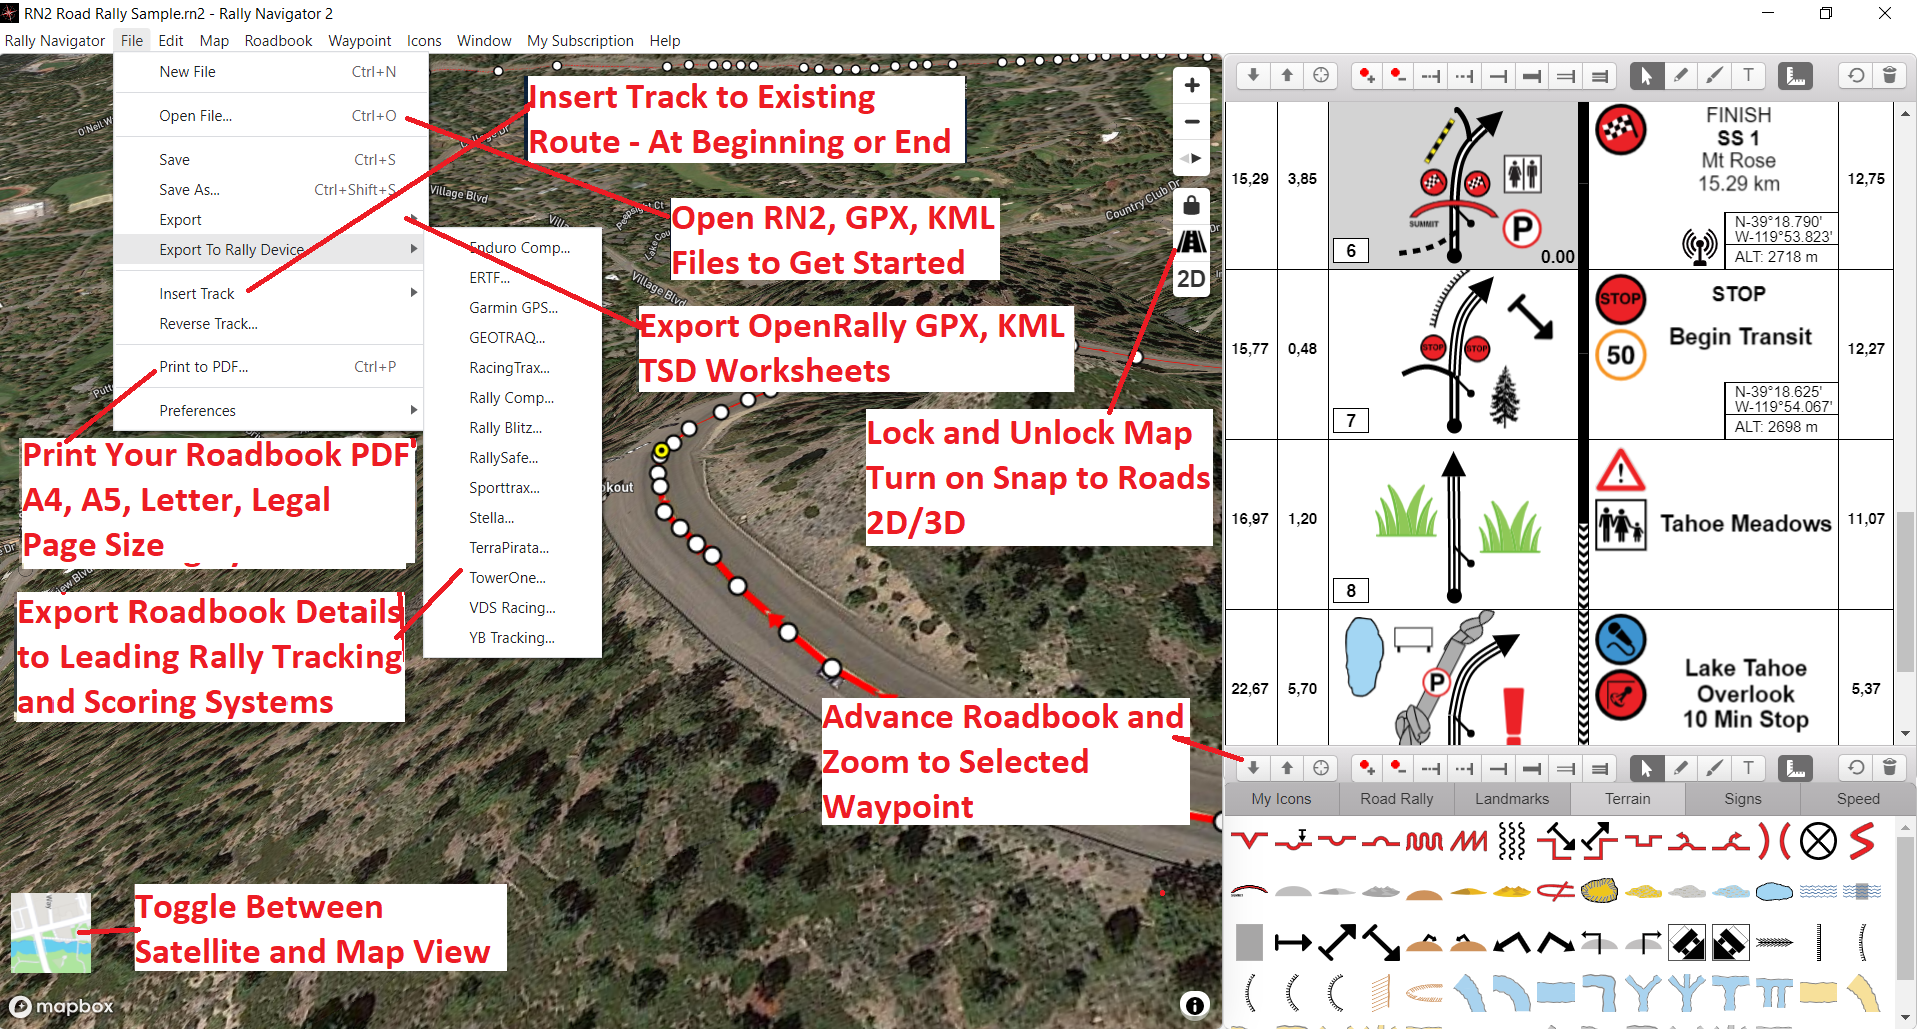
Import GPX or KML Track to Get Started
- Select: File, Open, then choose a GPX or KML File to Import.
- You will see imported Tracks projected onto Main Map Screen.
- You can Insert Additional Tracks at the Start or End of the Track using File, Insert Track
- Enter Route Name, Description, Start and Finish Location in Header
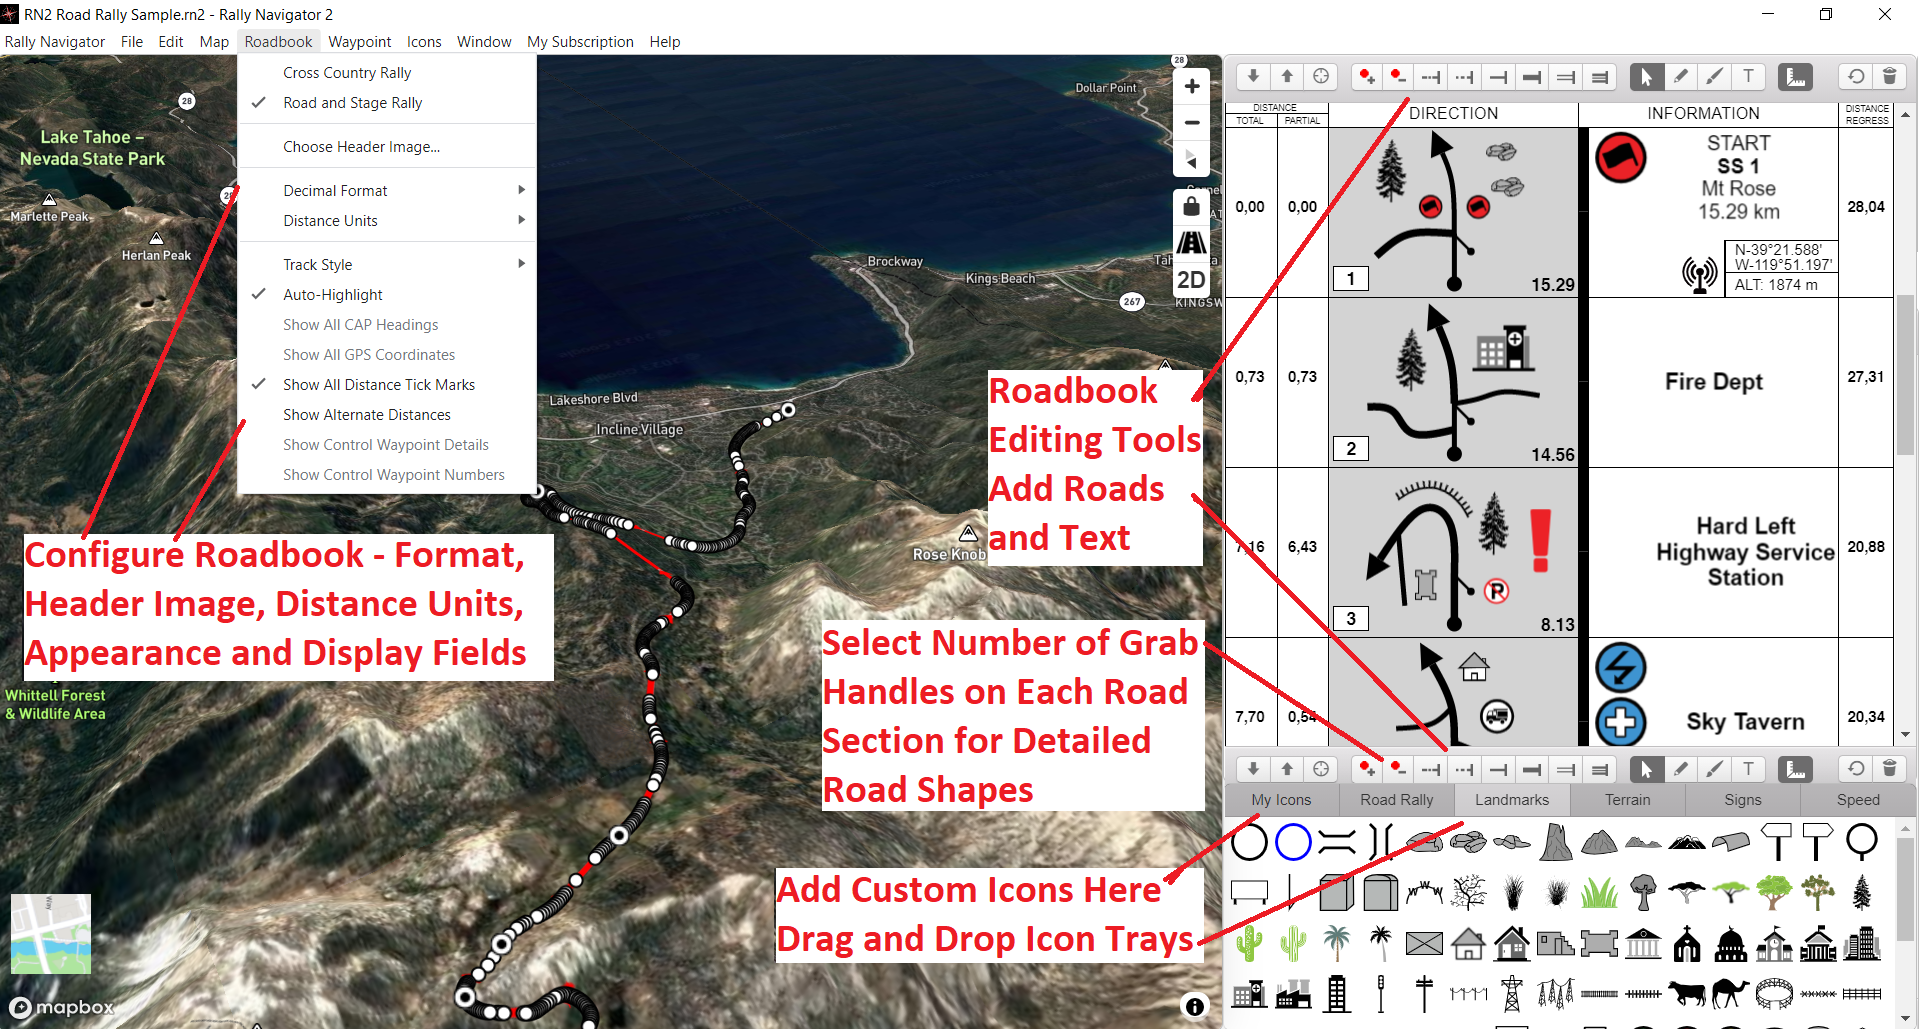
Fine Tune Track and Create Waypoints Along the Route
- Mouse over the red Track and Click to create a track handle. Place handle carefully along track on Map to align track along your intended route. The Track is used to measure distance and must be accurate.
- Double Click a Track Handle to create a Waypoint at each intersection or POI along the route. Rally Navigator will automatically capture segment and total distance, generate tulip, GPS coordinates.
- Select the Road Type of the Main Tulip Arrow by clicking on Tulip road and then clicking on desired road type in the drawing tools bar. Changing a road type with change subsequent tulips also.
Add Waypoint Details: Roads, Icons Text
- Select a Waypoint by clicking in Roadbook.
- Drag desired “no go” road segments into Waypoint editor and shape road to create tulip, so curves in road and angles of roads at intersection exactly match.
- Drag and drop proper Navigation icons and signs into Tulip and Text Box. Rally Navigator utilizes full library of FIA Navigational Icons. Pro Users can add Custom Icons.
- Right Click in a box to Add Text Descriptions with turn info and navigational hints to each Waypoint.
- Right Click in Text box to Add a Background Image
- Continue along Route till you have fine tuned Track and created details for each Waypoint.
Pre-Running and Route Checking
- Once the Route is initially done. Its time to physically pre-run and check the Route and make any corrections prior to investing time drawing detailed Tulips.
- While checking route, capture a GPX Track of the Pre-Run to help with final Route editing
- While pre-running, check distance, headings, etc. at every Waypoint. Mark all Landmark and Terrain details. This can be done with a GPS, voice recorder or note pad.
Finalizing the Route After the Pre-Run
- Overlay GPX File of the Pre-Run
- Review the Overlay GPX Track and your route notes to make any necessary changes/corrections to Route.
- Add final detailed tulips, Icons and Waypoint Descriptions.
- You are Ready to Rock

